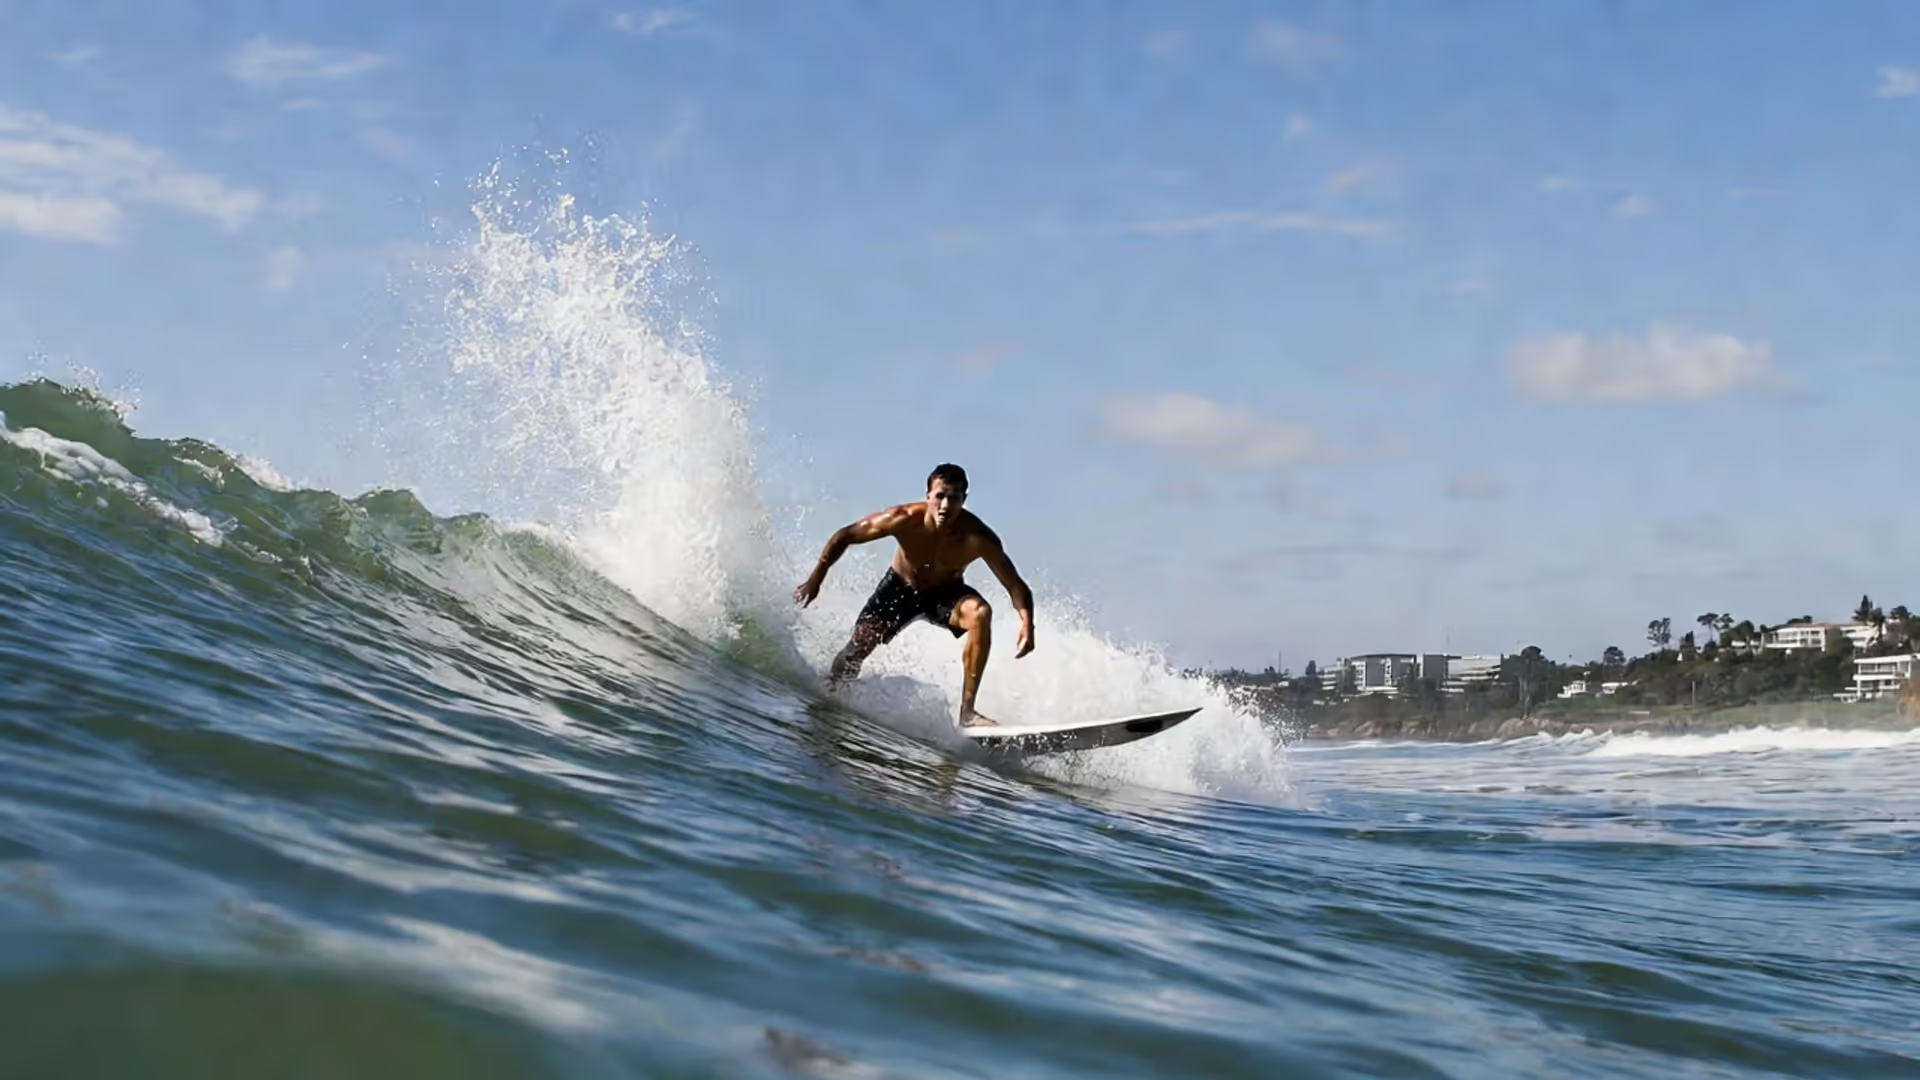
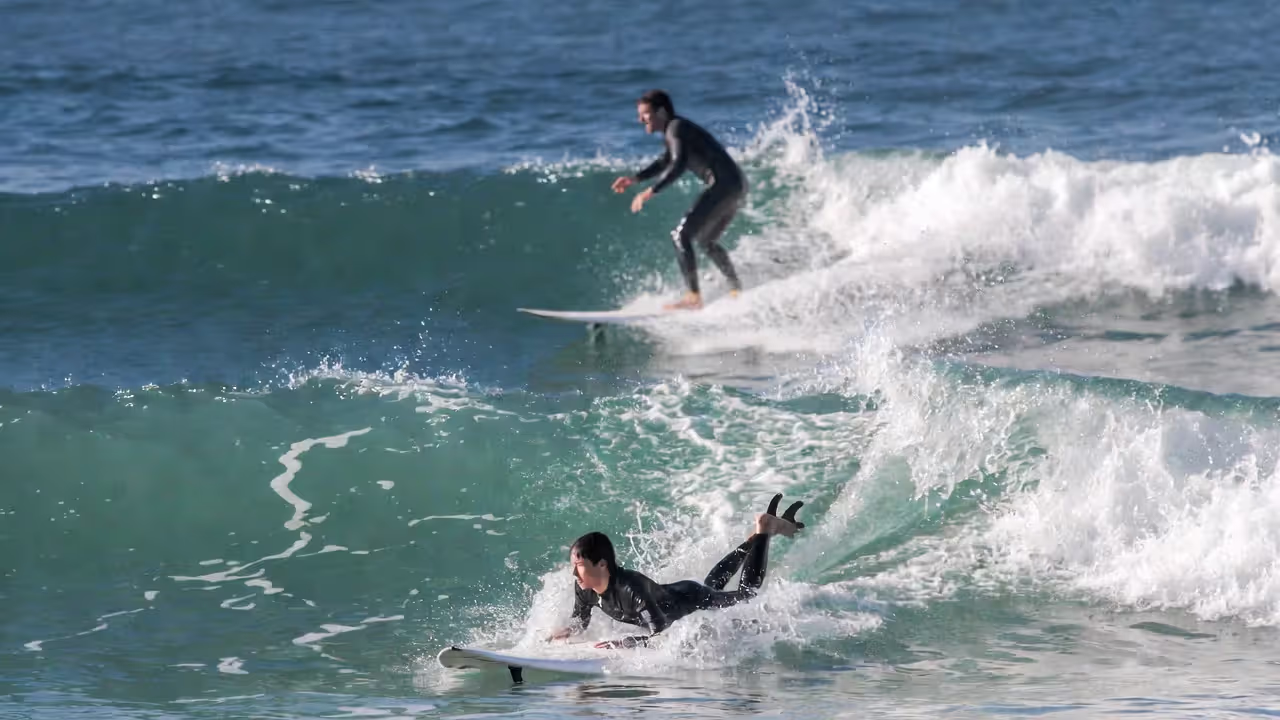
Perfect timing turns a simple paddle into a successful wave catch
How to Catch a Wave Surfing: Master Your Timing and Position in 5 Steps
Content
Watching a surfer glide effortlessly into a wave makes it look simple. You paddle out with confidence, spot what looks like a perfect wave, start stroking hard—and watch it roll right under you while someone twenty feet over pops up without breaking a sweat. Frustrating doesn't begin to cover it.
The difference between catching waves consistently and spending your session getting worked isn't about luck or years of experience. It comes down to understanding a handful of mechanical principles that beginners either never learn or learn through painful trial and error. Most surf schools teach you to pop up on the beach but skip the nuanced timing and positioning that actually gets you into waves.
Why Most Beginners Miss Waves (And How to Fix It)
Three mistakes account for roughly 80% of missed waves among developing surfers, and they're all correctable once you recognize them.
Starting your paddle too late is the classic beginner error. You see the wave approaching, think "not yet," wait another second, then panic-paddle when it's already lifting your tail. By then, gravity hasn't taken over, and you're trying to chase a wave that's already faster than you can paddle. The window to catch most waves is narrower than it appears—usually 2-4 seconds of committed paddling before the wave reaches you.
Positioning too far forward or back on your board changes everything about how your board responds to the wave's energy. Too far forward and your nose pearls (dives underwater). Too far back and you're essentially dragging an anchor, requiring the wave to be much steeper before it can push your weight. This sweet spot shifts slightly depending on wave size, but many beginners never establish a consistent reference point on their board.
Arching your back at the wrong moment seems minor but kills more waves than weak paddling. When you arch up to look ahead while paddling, you shift weight backward and lift the nose—exactly when you need weight forward and the nose engaged with the wave face. The arch comes during the pop-up, not during the paddle sequence.
Author: Logan Merrick;
Source: 2templatedesign.site
Finding Your Sweet Spot: Where to Position Yourself in the Lineup
Wave catching starts before you even see your wave. Positioning for waves surfing means reading where waves will break and placing yourself in the zone where they're steep enough to catch but haven't already broken.
Watch the horizon for three or four sets before committing to a position. Waves don't break randomly. They follow the contours of the ocean floor, hitting the same general area with some variation. On a beach break, look for darker patches of water or areas where waves consistently stand up. At point breaks, the takeoff zone is more predictable—waves wrap around the point and steepen at roughly the same spot.
Distance from shore varies wildly depending on conditions. A mellow beach break might have a takeoff zone 40 yards out. A solid point break could be 100 yards or more. The key marker isn't distance but depth. You want to sit where the ocean floor begins forcing the wave upward. Too far outside (in deeper water) and waves are still rolling swells. Too far inside and you're in the impact zone where waves have already broken or are closing out.
Use other surfers as reference points, but don't blindly follow the crowd. If everyone's sitting in one spot, waves might be breaking there, but that doesn't mean it's optimal. Sometimes the best position is ten feet to the left or right of the pack, or slightly deeper (further out). Pay attention to who's actually catching waves versus who's just sitting there.
Landmarks help you hold position. Pick a spot on the beach—a lifeguard tower, distinctive building, or tree—and line it up with something else in the distance. When these two points align, you're in your spot. Currents and wind will push you around constantly, and without references, you'll drift without realizing it.

Author: Logan Merrick;
Source: 2templatedesign.site
The 5-Step Wave Catching Process
Breaking down the wave catching technique surfing into discrete steps removes the guesswork and gives you a mental checklist to run through in real time.
Step 1: Identify Your Wave Early
Scan the horizon constantly, not the waves already on top of you. You're looking for a swell line that shows a slight bump or darker color approaching. In the beginning, every bump looks like a potential wave, but you'll develop pattern recognition quickly.
Ask yourself: Is this wave part of a set or cleanup wave? Is it breaking left, right, or closing out? Am I in position or do I need to paddle left/right to meet it? These decisions happen in 2-3 seconds. Hesitation means you're reacting instead of anticipating.
Step 2: Turn and Position Your Board
As soon as you commit to a wave, turn your board to face the beach. Spin using a combination of arm strokes and body rotation—lying on your side slightly and pulling with one arm while pushing with the other. Don't waste time here. A slow turn eats into your paddling window.
Your board should point exactly where you want to go, which isn't necessarily straight toward the beach. If the wave is peeling right, angle slightly right. Going straight often puts you in the wrong part of the wave or causes you to miss the steep section.
Step 3: Start Paddling at the Right Moment
This is where when to paddle for a wave becomes critical. Start paddling when the wave is roughly 6-10 feet behind you for chest-high waves. Smaller waves require starting closer (4-6 feet); bigger waves give you more time (10-15 feet).
The wave should still look like a swell, not a breaking wall of whitewater. If you can see the lip throwing, you're too late. You want to be at full paddling speed when the wave begins lifting your tail.
Begin with controlled, powerful strokes. Don't thrash. You're building momentum that matches the wave's forward energy.
Step 4: Match the Wave's Speed
Here's the moment most beginners miss: there's a transition point where the wave's energy starts pushing you. You'll feel your board accelerate and the tail lift. This is when you dig deeper and give 3-4 maximum-effort strokes.
Your board should be angling down the face now. The sensation is subtle at first—less like being pushed and more like sliding on ice. If you stop paddling too early, you'll stall out. If you paddle too long, you'll be off-balance for the pop-up.
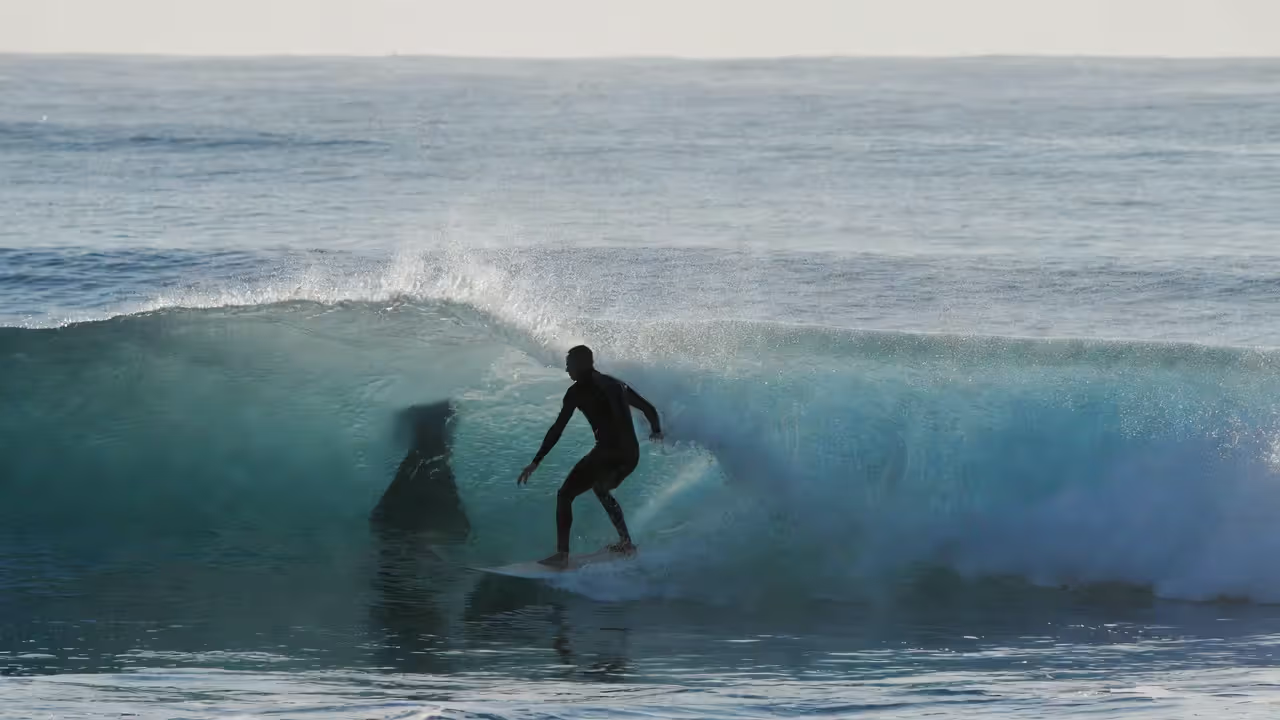
Step 5: Execute Your Pop-Up
Once you feel sustained forward momentum—the board is planing and you're moving with the wave, not fighting it—plant your hands beside your chest and explode up. This isn't a push-up; it's a dynamic hop that brings your front foot between your hands in one motion.
The surfing takeoff technique happens fast, but it shouldn't feel rushed if the previous four steps went correctly. You're not forcing yourself onto a wave; you're already on it and just standing up.
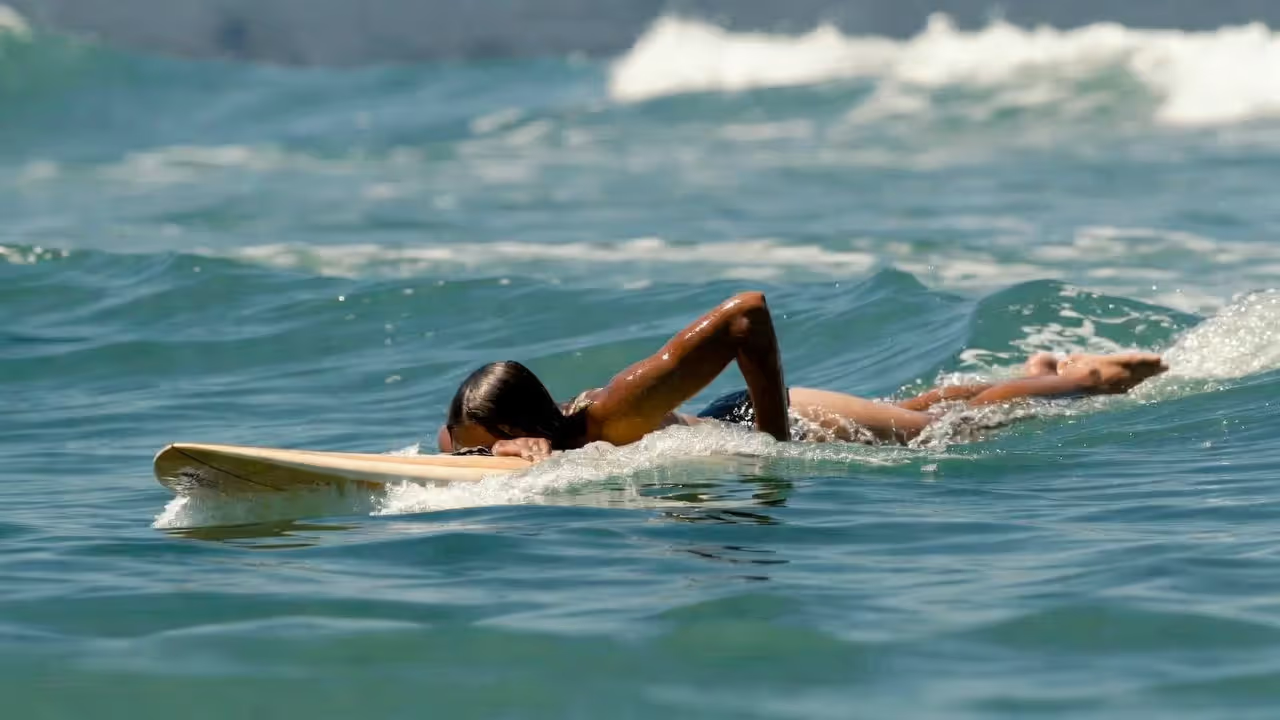
Paddling Technique That Actually Generates Speed
Weak paddling is the limiting factor for most beginners, but it's not about strength—it's about efficiency. Paddling timing surfing matters, but so does the quality of each stroke.
Author: Logan Merrick;
Source: 2templatedesign.site
Proper arm stroke mechanics start with your hand entering the water in front of your head, fingers slightly cupped (not spread wide or clenched tight). Your arm extends fully, and you pull water underneath your body, not out to the side. The stroke ends at your hip, and your hand exits cleanly without splashing. Recovery happens with your elbow high and relaxed.
Body positioning on the board means lying centered with your chest over the board's midpoint (marked by the stringer on most boards). Your head is up enough to see forward, but not craned back. Legs stay together and relaxed, not dragging or kicking. Your weight should press the board slightly into the water, not bounce on top of it.
Common paddling mistakes include short, choppy strokes that barely pull water; letting your elbows collapse inward; crossing the centerline with your hands (pulling across your body); and lifting your chest too high, which shifts weight backward. Another killer: pausing between strokes. Paddling should be rhythmic and continuous, not stop-and-go.
| Element | Effective Technique | Ineffective Technique |
| Arm Entry | Hand enters in front of head, fingers forward, full extension | Hand enters at shoulder, short reach, splashy entry |
| Stroke Depth | Pull deep underwater, hand passes under centerline | Shallow stroke, hand skims surface or pulls too wide |
| Body Arch | Slight arch, chest lifted just enough to clear the board | Excessive arch (weight too far back) or flat chest (head dragging) |
| Head Position | Neutral, looking forward, not craning up or down | Head cranked back or tucked down into chest |
| Stroke Rate | Smooth, rhythmic, continuous strokes (roughly 60-70 per minute) | Frantic thrashing or slow, lazy strokes with long pauses |
| Recovery Phase | Elbow high, relaxed arm swing, hand skims water surface | Arm drags through water, tense shoulders, no elbow lift |
Reading Wave Speed: When to Start Your Paddle
Not all waves move at the same speed, and your paddling timing must adjust accordingly. A slow, rolling wave at a mellow beach break gives you more time. A fast, hollow reef break requires earlier commitment and explosive paddling.
Visual cues that signal "go time" include the wave's face beginning to steepen (changing from a rounded swell to a more vertical wall), the color darkening as the water draws up, and the top of the wave feathering (a light spray or lip starting to form). These signs tell you the wave is transitioning from swell to breaking wave.
How wave steepness affects timing is straightforward: steeper waves require less paddling because gravity does more work. A wave that's already nearly vertical when it reaches you might only need 3-4 hard strokes. A fat, slow wave might need 8-10 strokes and perfect positioning to catch.
Author: Logan Merrick;
Source: 2templatedesign.site
Adjusting for different wave types means recalibrating your instincts. Beach breaks are unpredictable and often close out sections, so you need to catch waves early and be ready to adjust mid-ride. Point breaks offer longer, more predictable walls, but the takeoff is often crowded and requires precise positioning to avoid getting snaked. Reef breaks are the most consistent but also the most punishing if you misjudge—late takeoffs often mean getting pitched over the falls onto shallow reef.
A useful rule: if you're surfing a new break, deliberately catch a few waves of whitewater first to gauge the wave speed and power. It's humbling but informative.
Troubleshooting: What to Do When You're Consistently Missing Waves
Every surfer goes through sessions where nothing works. The difference between stagnation and improvement is diagnosing what's actually going wrong.
Too early vs. too late produces different results. Paddling too early means you reach full speed before the wave arrives, then slow down and get passed by. You'll feel your board decelerate as the wave approaches. Paddling too late means you're still accelerating when the wave is already moving past you. You'll feel the tail lift and then drop as the wave rolls under you. Film yourself or have someone watch and tell you which is happening.
Board positioning issues are harder to self-diagnose but just as common. If your nose pearls repeatedly, you're too far forward. Scoot back an inch or two. If waves keep passing under you despite strong paddling, you're too far back. Move forward. The correct position usually puts your chin 12-18 inches from the nose on a longboard, less on a shortboard. Mark your board with wax or a small reference point so you can replicate the correct position.
Fitness and paddling power limitations are real, especially if you're surfing once a week or less. Catching waves requires bursts of near-maximal effort. If you're gassed after three paddle attempts, your cardiovascular fitness or paddling-specific strength is the bottleneck. Swim regularly, do paddle drills in the pool, or use resistance bands to simulate the motion on land. Progress comes faster than you'd expect—most surfers see noticeable improvement in 3-4 weeks of consistent training.
The best surfer out there is the one having the most fun." But he also emphasized that fun increases dramatically when you're actually catching waves. Lopez has noted in interviews that beginners often overthink the process: "You don't catch waves with your brain. You catch them by feeling the ocean's rhythm and reacting instinctively. But first, you need to put in the reps to develop that instinct."
— Gerry Lopez
Frequently Asked Questions About Catching Waves
Catching waves consistently transforms surfing from a frustrating struggle into something that actually resembles the sport you imagined. The process isn't mysterious or talent-dependent. It's a learnable skill built on positioning, timing, and efficient movement.
Start by fixing the biggest leak in your technique—whether that's paddling too late, positioning incorrectly, or weak stroke mechanics. Film yourself, ask for feedback, and focus on one adjustment per session rather than trying to fix everything at once. Your wave count will climb faster than you expect, and with it, your confidence and enjoyment in the water.
The ocean rewards preparation and persistence. Put in the reps, stay patient with yourself, and remember that every surfer you see making it look easy spent plenty of sessions getting worked before the pieces clicked.