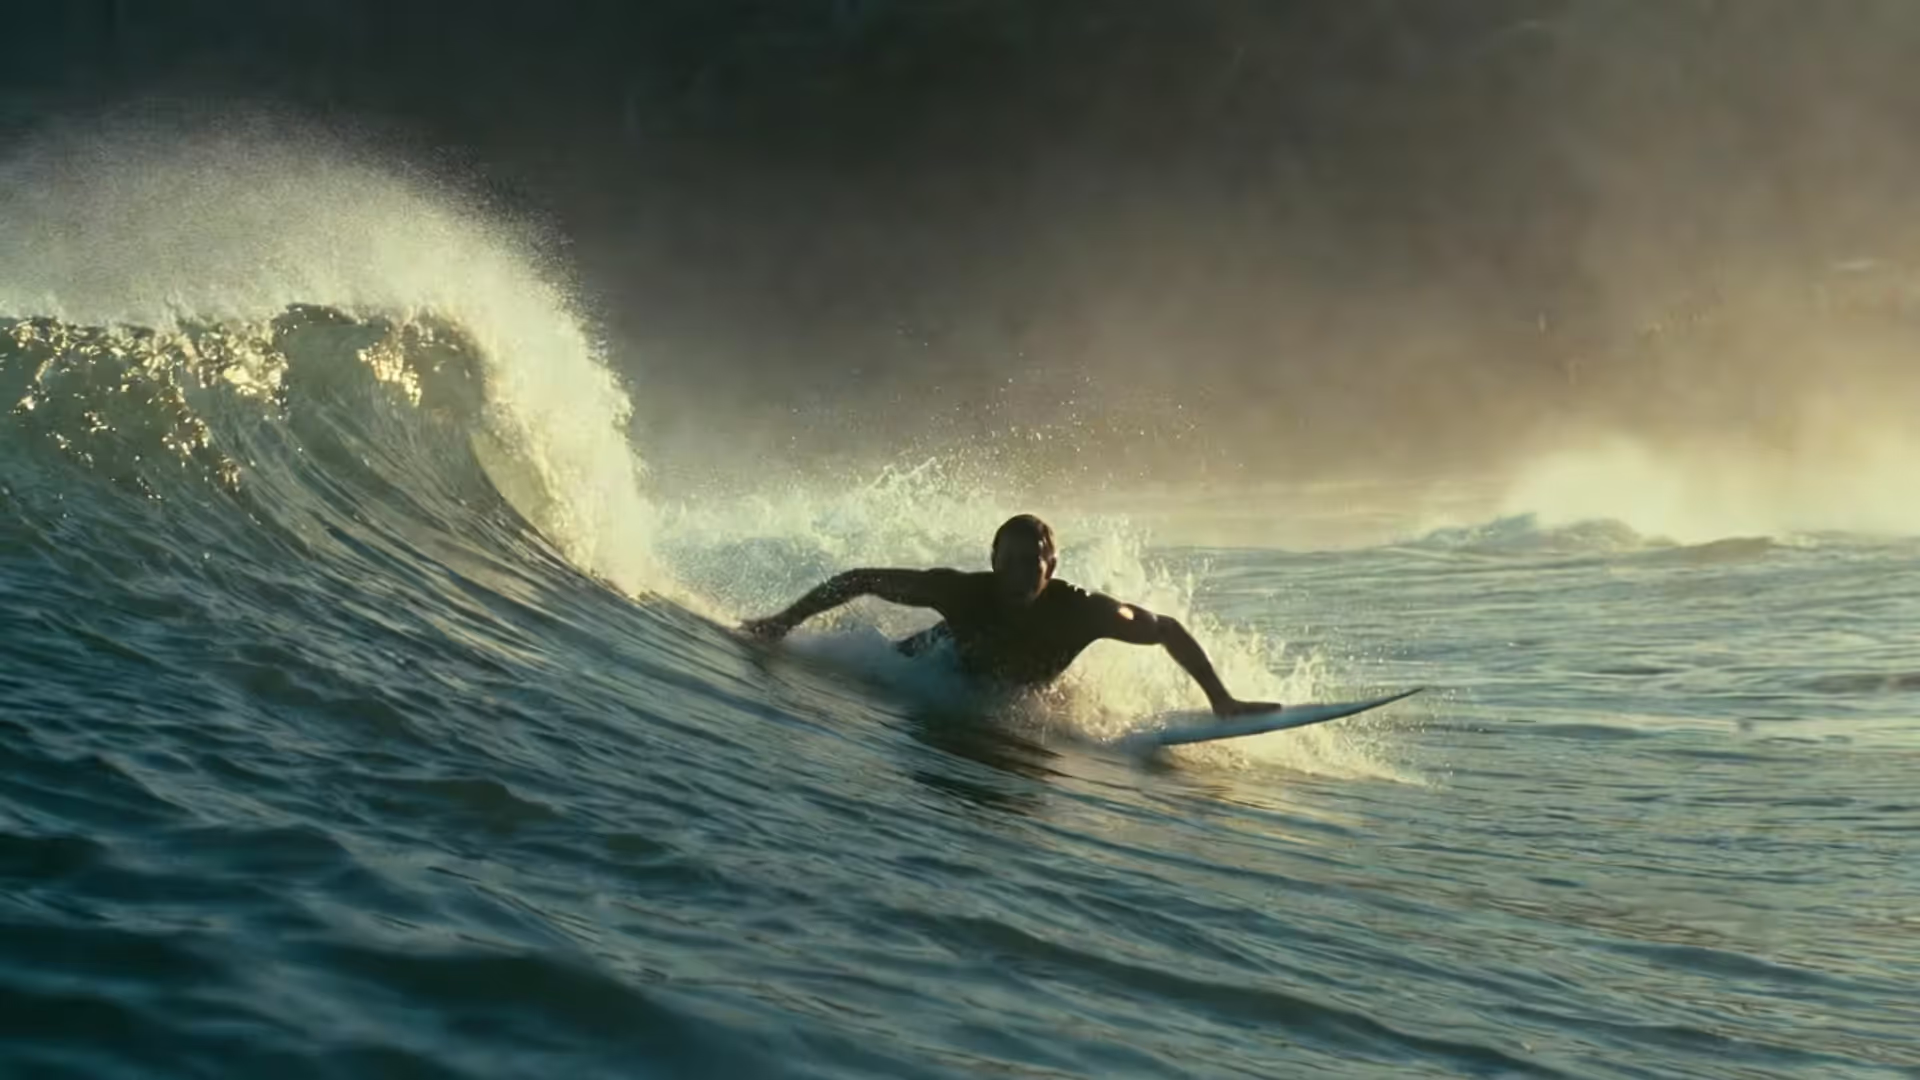
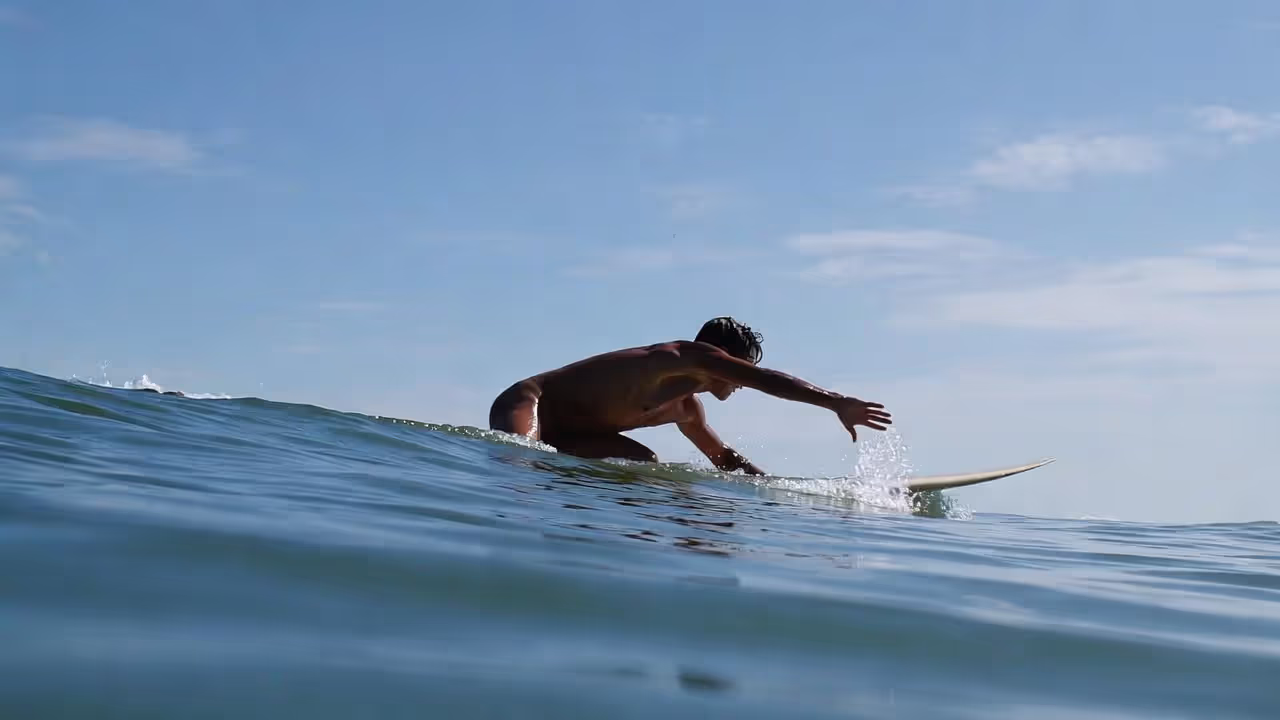
A smooth pop-up turns wave energy into a real ride
Surfing Techniques: Master the Fundamentals and Progress Your Wave Riding
Content
Learning to surf requires more than just showing up at the beach with a board. The difference between floundering in whitewater and confidently riding down the line comes down to mastering specific physical skills that work with—not against—the ocean's energy. Whether you're still struggling to stand up or ready to carve your first real turn, understanding the mechanics behind each movement transforms frustration into measurable progress.
Most beginners make the same error: they try to muscle their way through techniques instead of developing efficient movement patterns. A surfer paddling with straight arms exhausts themselves before reaching the lineup. Someone popping up in two separate motions loses the critical momentum needed to stand. These aren't minor details—they're the foundation that determines whether you'll spend your session swimming after your board or actually riding waves.
How Paddling Mechanics Set Up Every Wave You Catch
Your paddling technique directly controls which waves you catch and how much energy you have left to surf them. Watch experienced surfers in the lineup and you'll notice they paddle less frantically but move faster through the water. That efficiency comes from specific mechanics most beginners never learn.
Position your body so your chest sits at the board's center point—typically where you feel balanced without the nose diving or the tail dragging. Your back should arch slightly, lifting your chest two to three inches off the deck. This posture keeps the nose from pearling while maintaining a hydrodynamic position. Too far forward and you'll nosedive; too far back and you're pushing water instead of gliding through it.
The arm stroke itself mirrors a freestyle swimming motion, but with crucial differences. Your hand should enter the water near the board's rail, fingertips first, then pull through in a slight S-curve that maximizes water capture. The power phase happens when your hand passes under your chest—this is where you pull hardest. Recover with a relaxed arm that swings forward just above the water surface. Straight-arm paddling, common among beginners, creates shoulder strain and cuts your power by nearly half.
Stroke rate matters more than you'd think. Panic paddling with short, choppy strokes moves you slowly while burning energy. Instead, use longer, deliberate strokes with a brief glide between each pull. When you spot your wave and commit, that's when you accelerate—three to five powerful strokes timed with the wave's approach. Start too early and you'll be sitting on the shoulder when it passes; too late and you're chasing whitewater.
Common paddling errors waste the energy you need for everything else. Kicking your legs creates drag without propulsion—keep them still and together. Lifting your head too high to look around forces your lower body down, creating a plow effect. Instead, keep your gaze just above the horizon, using peripheral vision to track incoming sets. Gripping the rails while paddling locks your shoulders and prevents full rotation. Let your hands stay in the water doing the work they're designed for.
Author: Tyson Caldwell;
Source: 2templatedesign.site
The Pop-Up Sequence: From Prone to Standing in One Motion
The pop-up separates surfers who catch waves from those who ride them. This explosive movement needs to happen in roughly one second—any slower and the wave's momentum leaves you behind or the nose catches and you tumble forward.
Start from your paddling position with hands flat on the deck beside your chest, slightly wider than shoulder width. This is not a push-up position—your hands should be closer to your armpits than your shoulders. Push down while simultaneously pulling your chest up and forward. Here's the critical part beginners miss: your back foot needs to land first, positioned between your hands. Your front foot follows immediately, landing near the board's center with your weight already shifting forward.
Your feet should land in one fluid motion, not a two-step shuffle. That front foot placement determines your entire stance. It should angle slightly forward (about 45 degrees) with your knee bent over your toes. Your back foot sits perpendicular to the stringer, toes pointing toward the rail. Stance width varies by body type, but a good rule: your feet should be slightly wider than shoulder-width, creating a stable athletic base.
Body position at the moment you stand makes or breaks the maneuver. Your chest should face forward, shoulders parallel to the stringer, with your head up and eyes looking where you want to go. Beginners often look down at their feet—this tips your weight forward and sends you over the nose. Your arms should extend slightly for balance, not flail wildly or hang limp at your sides.
Practice this movement on land until it becomes automatic. Place your board on sand or grass and repeat the sequence twenty times. Focus on the explosive push, the single-motion foot placement, and landing with bent knees. Film yourself if possible—what feels smooth often looks clunky until you've drilled the pattern into muscle memory. The beach practice pays off when you're dealing with a moving wave and rushing water.
Author: Tyson Caldwell;
Source: 2templatedesign.site
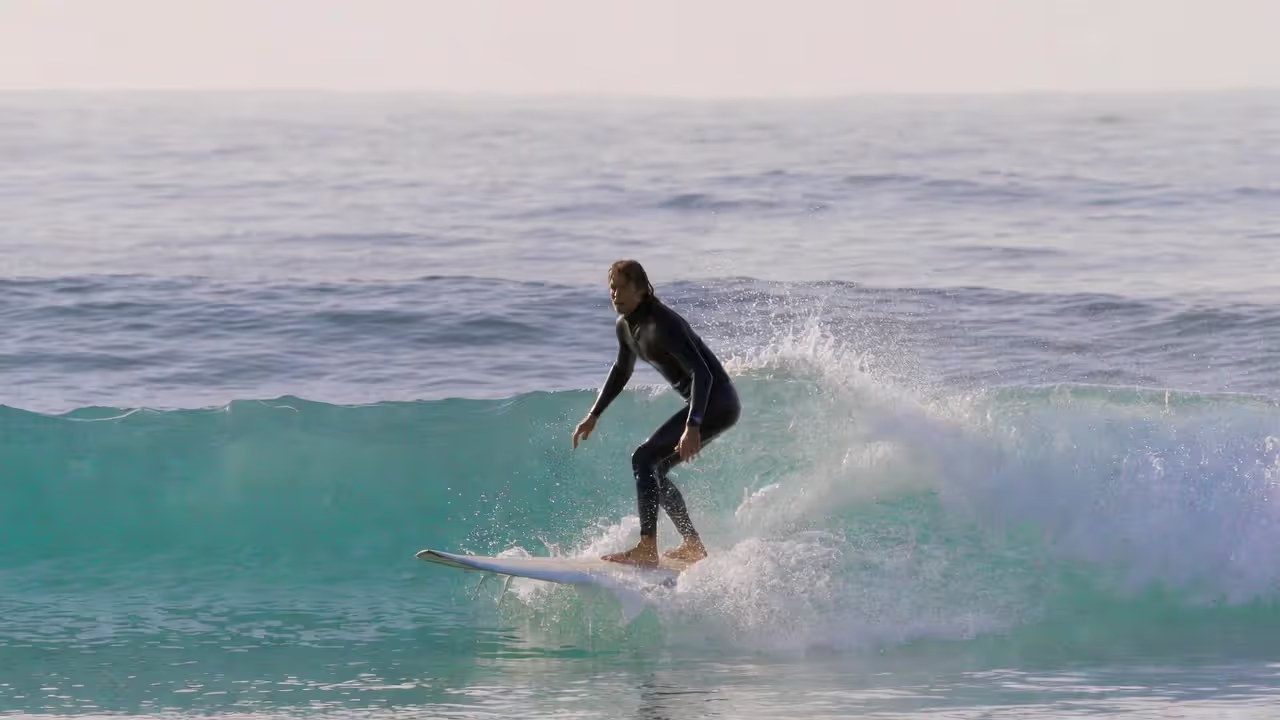
Weight Distribution and Body Position for Maintaining Balance on Your Board
Balance on a surfboard isn't about standing still—it's about constant micro-adjustments that respond to the wave's changing face. Your body acts as a dynamic stabilizer, shifting weight in subtle ways that keep the board tracking where you intend.
Stance Width and Knee Bend Fundamentals
Your stance creates the foundation for every other movement. Feet too close together and you'll wobble like a tightrope walker; too wide and you lose mobility for turns. That shoulder-width-plus guideline works for most people, but taller surfers often need slightly wider stances while shorter riders can get away with narrower positioning.
Knee bend is non-negotiable. Locked legs turn you into a rigid post that can't absorb the wave's bumps and transitions. Your knees should stay bent in an athletic crouch—think about the ready position in tennis or basketball. This bent-knee posture lowers your center of gravity and allows your legs to act as shock absorbers. When the wave face steepens, bend deeper; when it mellows, you can stand slightly taller. The adjustment happens instinctively once you've trained the pattern.
Weight distribution shifts constantly based on what the wave is doing. On steep sections, shift weight slightly toward your back foot to prevent nosediving. On flatter sections, move weight forward to maintain speed. The transition happens through your hips and core, not by leaning your upper body. Beginners often lean from the waist, which throws off their center of gravity and leads to falls. Instead, think about pressing through your front or back foot while keeping your torso relatively upright.
Using Your Arms as Balance Stabilizers
Your arms do more than look stylish—they're active balance tools that help you make split-second adjustments. Extended slightly away from your body, they act as counterweights. When you feel yourself tipping toward your toes, your arms naturally swing back and up, shifting your center of gravity back over the board. Tipping toward your heels? Your arms move forward.
Watch professional surfers and you'll notice their arms constantly moving in small, controlled motions. They're not random gestures—each movement corresponds to a weight shift or balance correction. Beginners often keep their arms locked at their sides or flailing dramatically. The middle ground works best: arms relaxed but active, making deliberate movements that support your balance rather than fighting against it.
Rail-to-rail weight shifts control your direction and speed. Pressing down on your toe-side rail (the rail toward your toes) initiates a turn in that direction. Pressing your heel-side rail turns you the opposite way. These shifts start from your ankles and knees, not from leaning your whole body. Think about pressing through the balls of your feet or your heels while maintaining that bent-knee posture. The board responds to these subtle pressures, carving the line you're visualizing.
Essential Turning Maneuvers Every Surfer Should Learn
Turning separates straight-line riders from surfers who can work a wave from top to bottom. Each maneuver serves a specific purpose and builds on the balance fundamentals you've developed.
Author: Tyson Caldwell;
Source: 2templatedesign.site
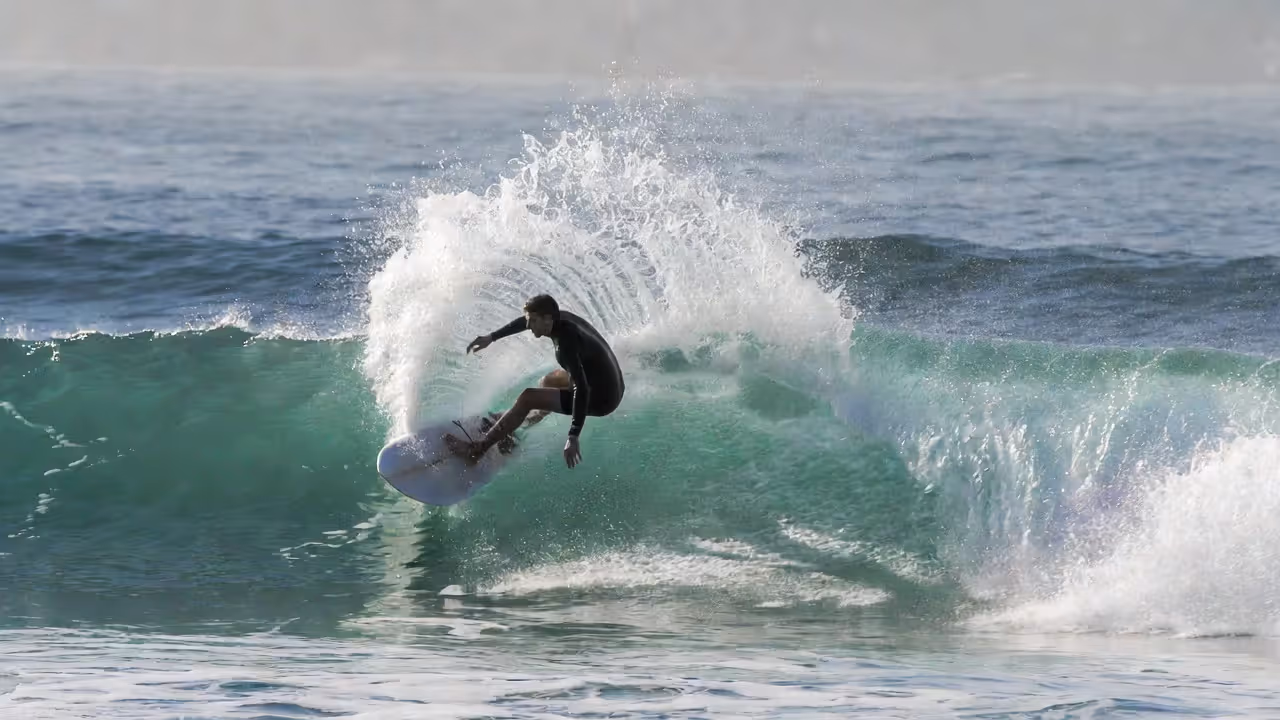
Bottom Turns: Generating Speed from the Wave Face
The bottom turn is surfing's most fundamental maneuver—it's how you redirect from your initial takeoff angle and set up everything that follows. After standing up, you're typically pointing straight down the wave face. The bottom turn happens at the wave's base, where you compress your body, shift weight to your toes, and carve back up toward the pocket.
Mechanics: As you descend the face, stay low with bent knees. When you reach the bottom (or just before), shift your weight forward and onto your toe-side rail. Your front arm should extend toward where you want to go—up and along the wave face. Your back hand can drag slightly in the water for stability and to help pivot the board. The turn radius depends on how much pressure you apply and how deeply you carve. Beginners should start with wide, sweeping arcs before attempting tighter turns.
Timing makes the difference between a powerful turn that generates speed and a mushy redirect that kills momentum. Start your weight shift just before you reach the bottom. If you wait until you're completely at the base, you've lost the gravitational energy that powers the turn. The compression-then-extension motion (squatting down, then rising as you turn) adds power to the maneuver.
Top Turns and Cutbacks: Redirecting Your Line
Once you've completed a bottom turn and are riding up the face, you need a way to redirect before running out of wave. The top turn brings you back down, while the cutback is a more dramatic 180-degree redirect that brings you back to the power source.
A basic top turn happens near the wave's lip. As you approach the top, shift weight to your back foot and heel-side rail. This pivots the nose back down the face. Your front arm should point down toward where you want to go. The key is not riding all the way to the lip before initiating—start your turn one to two feet below the crest, or you'll stall out on the shoulder.
Cutbacks require more commitment. You're essentially carving a large arc that brings you 180 degrees back toward the whitewater. Weight shifts to your heel-side rail as you lean into the turn, using your arms for balance and direction. Your head and eyes should look back toward the pocket—where you look is where you'll go. The cutback takes practice because you're turning away from the clean face temporarily, which feels counterintuitive. But it's essential for getting back to the wave's power when you've ridden too far onto the shoulder.
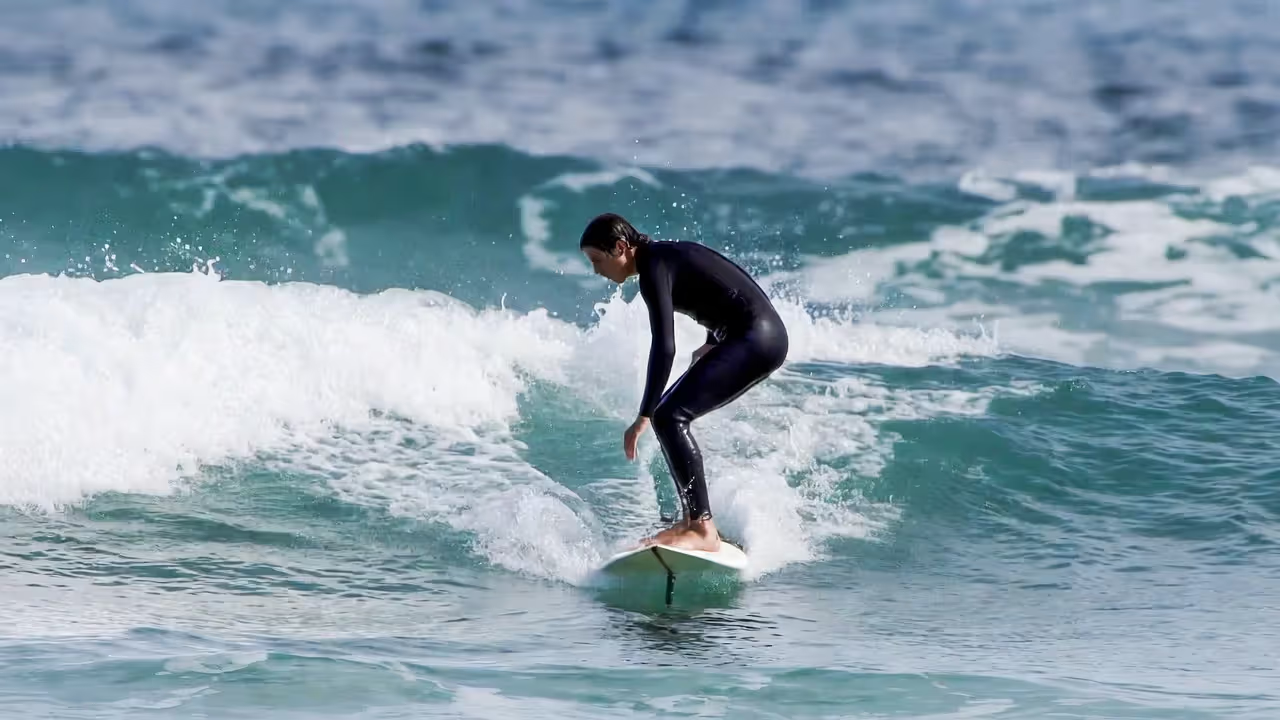
Trimming: The Art of Efficient Wave Riding
Trimming isn't a flashy maneuver—it's the skill of finding the optimal line that maximizes speed and wave time. When you're trimming correctly, you're riding the high line on the wave face, staying just ahead of the breaking section without racing too far ahead or getting caught behind.
This technique requires subtle weight adjustments. Too much weight forward and you'll outrun the wave; too much back and it will pass you. You're constantly reading the wave's shape and adjusting accordingly. On faster sections, you might crouch lower and shift slightly back. On slower sections, you extend taller and move weight forward. Your rail engagement is minimal—you're riding relatively flat to maintain speed, only engaging rails when you need to adjust your line.
Experienced surfers spend much of their wave time trimming, using it to set up maneuvers or simply to extend their ride. It looks effortless because it is—once you've developed the feel for reading wave energy and making micro-adjustments.
| Maneuver Name | Primary Purpose | Difficulty Level | When to Use | Key Body Movement |
| Bottom Turn | Generate speed and set up next maneuver | Beginner-Intermediate | After takeoff, at wave base | Weight to toes, compress then extend, front arm points direction |
| Top Turn | Redirect back down the face | Intermediate | Near the lip when riding up face | Weight to heels/back foot, pivot at the top third of wave |
| Cutback | Return to power pocket when on shoulder | Intermediate-Advanced | When you've ridden too far from breaking section | Heel-side carve, 180-degree arc, look back toward pocket |
| Trimming | Maintain speed and optimal position | Beginner-Intermediate | Throughout ride between maneuvers | Subtle weight shifts, minimal rail engagement, high line |
Five Mistakes That Keep Beginners from Progressing
Author: Tyson Caldwell;
Source: 2templatedesign.site
Identifying what's holding you back often matters more than learning new techniques. These errors appear consistently among surfers stuck at the beginner level.
Looking down at your feet or the board. Your body follows your eyes. When you look down, your weight shifts forward and your balance collapses. Train yourself to look where you want to go—down the line, toward the shoulder, at the section you're approaching. This single change improves balance and opens up your peripheral vision to read the wave better.
Riding with straight, locked legs. Stiff legs can't absorb the wave's bumps and transitions. Every small chop sends a shock through your rigid body, throwing off your balance. Keep those knees bent in an athletic stance. Your legs should feel slightly fatigued after a good session—that's the micro-adjustments working.
Poor paddle positioning before the pop-up. Many beginners paddle with their hands too far forward or too far back. This throws off the explosive push needed for a clean pop-up. Your hands should be beside your chest, flat on the deck, positioned for maximum push leverage. Practice the placement on land until it's automatic.
Choosing the wrong board for your skill level. A board that's too small or too narrow makes learning proper technique nearly impossible. You're fighting to stay on the board rather than developing smooth movements. Beginners need volume and stability—a longboard or a high-volume funboard provides the float that lets you focus on technique rather than survival. You can downsize once your fundamentals are solid.
Selecting waves beyond your ability. Paddling out to overhead waves when you're still mastering your pop-up isn't brave—it's counterproductive. You can't practice technique when you're in survival mode. Choose waves that are small enough to let you focus on executing movements correctly. Knee-high to waist-high waves let you repeat techniques multiple times per session, building the muscle memory that leads to progression.
Practice Drills to Accelerate Your Technique Development
Deliberate practice beats random repetition. These drills target specific skills and provide measurable ways to track improvement.
Land-based pop-up repetitions: Set up your board on sand or grass. Mark your hand and foot positions with tape if needed. Execute twenty pop-ups, focusing on the explosive single motion and proper foot placement. Film yourself from the side to identify any two-step movements or balance issues. Do this before every surf session as a warm-up.
Balance board training: A balance board or Indo Board mimics the instability of a surfboard on water. Practice your surf stance with bent knees, working on shifting weight from rail to rail. Start with simple balance, then progress to simulated turns by pressing through your toes or heels. Ten minutes daily builds the stabilizer muscles and neural patterns that translate directly to the water.
Paddle endurance sets: Paddle parallel to shore for a set distance or time, focusing on form over speed. Count your strokes—as your technique improves, you'll cover the same distance with fewer strokes. This builds the specific endurance you need while reinforcing proper mechanics. Include sprint intervals: five hard strokes at maximum power, then return to normal pace.
Wave selection practice: Spend an entire session just reading waves without catching them. Position yourself in the lineup and predict which waves will break where, how fast they'll move, and where the best takeoff spot is. This mental practice improves your wave judgment faster than random trial and error. When you do paddle for a wave, you'll make better choices.
Single-focus sessions: Dedicate individual sessions to one specific skill. An entire session on just bottom turns, catching waves solely to practice that one maneuver. Another session on pop-ups, where you catch as many waves as possible just to repeat the standing-up motion. This focused approach develops skills faster than trying to work on everything simultaneously.
Video self-assessment: Have someone film your surfing from the beach or use a waterproof camera. Watch the footage critically, comparing your movements to proper technique. You'll spot issues you can't feel while you're surfing—looking down, stiff legs, poor timing. Review the video before your next session with one specific correction in mind.
Track your progress with specific metrics. How many waves did you catch? What percentage of pop-ups were successful? Did you complete a full bottom turn, or did you straighten out halfway through? Concrete data reveals whether your practice is working or if you need to adjust your approach.
Surfing is all about technique. You can have all the strength and fitness in the world, but if your technique is off, you're fighting the wave instead of using it.
— Tom Carroll, two-time World Champion
FAQ: Common Questions About Learning Surfing Techniques
How long does it take to master basic surfing techniques?
Most people can develop a functional pop-up and basic wave-riding ability within 10-15 sessions of focused practice. Solid turning techniques typically require 6-12 months of regular surfing (at least once or twice weekly). "Mastery" is subjective—professional surfers spend decades refining techniques. Set realistic milestones: stand up consistently within your first month, complete basic turns within six months, and develop style and flow over years of practice.
What's the hardest surfing technique for beginners to learn?
The pop-up creates the most initial frustration because it requires explosive power, coordination, and timing all at once. However, once learned, it becomes automatic. Many surfers find reading waves and positioning themselves correctly more challenging long-term because it requires ocean knowledge that only comes with experience. You can drill a pop-up on land, but wave judgment only develops through time in the water.
Should I practice pop-ups on land before trying in the water?
Absolutely. Land practice lets you repeat the movement pattern without fighting currents, waves, and timing pressures. You can execute twenty perfect pop-ups on the beach in ten minutes, building muscle memory that translates immediately when you paddle out. Most surf schools start with beach drills for exactly this reason. The transition to water still requires adjustment, but you'll have the basic movement pattern already programmed.
How do I know if my paddling technique is correct?
Two indicators reveal efficient paddling: you're moving faster than other beginners with less effort, and your shoulders aren't burning out after ten minutes. Film yourself paddling from the side—your arms should extend fully forward, pull through in a smooth arc, and recover just above the water surface. Your body position should keep the nose from diving while maintaining a streamlined profile. If you're exhausted but barely moving, your technique needs work.
What board type is best for learning proper turning techniques?
A funboard in the 7-8 foot range with good volume (check the specs—you want at least 50-60 liters for most adults) provides enough stability to practice turns without the unwieldiness of a full longboard. The extra volume lets you focus on weight shifts and carving mechanics rather than just staying upright. Once your turns are smooth and controlled, you can transition to a shorter board that responds more dramatically to your inputs.
Can I learn surfing techniques from videos alone?
Videos provide valuable visual models and can help you understand the mechanics, but they can't replace water time. Surfing is a physical skill that requires proprioceptive feedback—you need to feel the board responding to your movements, the wave's energy pushing you, and the balance adjustments your body makes automatically. Use videos to understand what you should be doing, then spend time in the water developing the feel. The combination of visual learning and physical practice accelerates progress more than either approach alone.
Progressing in surfing requires patience with the learning curve and honesty about your current abilities. The surfer who masters fundamentals before attempting advanced maneuvers progresses faster than the one who skips steps. Every session offers opportunities to refine one aspect of your technique—better paddle strokes, cleaner pop-ups, smoother turns. String together enough of these incremental improvements and you'll look back six months from now surprised at how far you've come. The ocean rewards those who respect the process and put in consistent practice. Choose one technique from this guide, focus on it for your next three sessions, and watch how that dedicated attention translates into noticeable improvement.